Transom windows are ornamental and useful windows that are positioned above doors or bigger windows to offer architectural character and let in natural light and ventilation. For both structural stability and visual coherence, it is essential to match the thickness of a transom window when installing or replacing it with the surrounding wall and nearby windows. This tutorial will help you choose the appropriate materials, comprehend transom window thickness, and create a polished appearance.
1. Understanding Transom Window Thickness Requirements
Knowing what factors go into selecting the ideal thickness for your transom window is crucial before you begin. For a smooth appearance and correct installation, the thickness usually needs to match the depth of the wall or surrounding trim.
- Standard Wall Depths and Trim Thickness: Depending on whether the wall is inside or outside, standard wall depths vary from 4 to 6 inches. An extra 0.5 to 2 inches may be added by trim and casings.
- Window Sash and Glass Thickness: Depending on whether they are single, double, or triple-glazed, transom windows typically have a thickness of 0.75 to 2 inches.
- Insulation Requirements: For energy efficiency, outside transom windows may need to be thick enough to accept double-pane glazing or insulation.
2. Measuring and Assessing Existing Window and Door Thickness
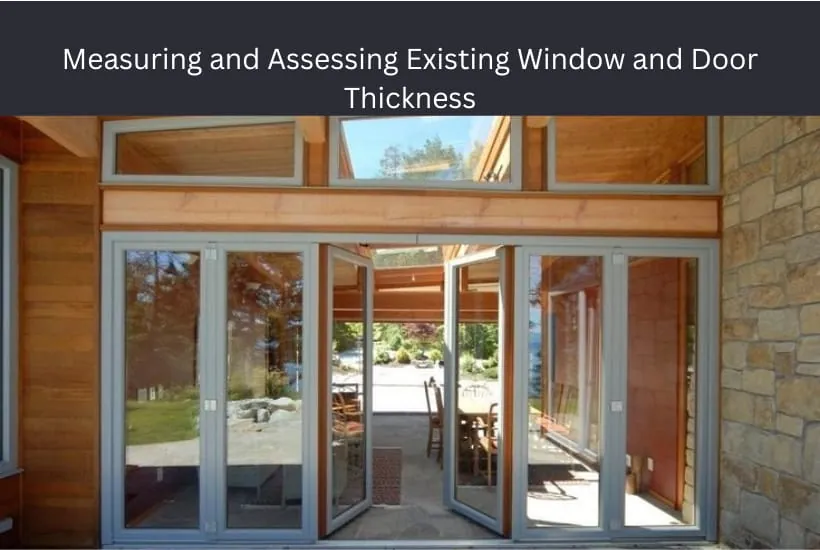
Carefully measure the depth of the wall, trim, and door frame to make sure your transom window matches the thickness of the surrounding components. Here’s how to accomplish it:
- Determine the wall’s depth: Measure the wall’s thickness first, from the outside to the inside. To obtain a precise measurement, use a depth gauge or tape measure, taking note of any differences in depth brought on by different wall materials or finishes.
- Measure Door and Window Trim: Take note of the trim depth if the transom window will be positioned above an existing door or window. Maintaining a consistent trim depth will make the transom appear to be a seamless part of the frame.
- Examine the Disclosure: The distance between the transom window and the wall or trim face is known as the reveal. Generally speaking, a 0.25 to 0.5-inch reveal produces a neat, layered appearance.
3. Choosing the Right Transom Window Materials
The transom window’s thickness and appearance are influenced by the material you choose. Depending on the thickness of your wall and frame, take into account the following options:
- Wood Frames: You can change the thickness of the wood transom windows to fit the surrounding trim because they are customizable. Wood is perfect for homes with a traditional or historical feel, but it needs to be maintained frequently to avoid warping.
- Vinyl frames: Although vinyl is less expensive and weatherproof, its thickness may not be as adjustable. If your transom window is outside, look for thicker vinyl frames.
- Aluminum Frames: Because aluminum frames are lightweight and thin, they go well with contemporary design. Although their profiles are typically thinner, they can be combined with larger trims to accommodate thicker walls.
- Composite Materials: For insulated or energy-efficient windows, composite frames might be thicker.
4. Adjusting for Glass Thickness
A transom window’s overall thickness is also influenced by the glass. Depending on the requirements for sound insulation and energy efficiency, transom windows can have single, double, or even triple-pane glass.
- Single Pane: Especially for interior transoms, a single pane is frequently adequate if it matches a narrower wall or frame.
- Double or Triple Pane: Low-emissivity (Low-E) coating on double or triple-pane glass contributes to energy efficiency for outside transoms in colder areas. The additional glass layers in these windows necessitate a thicker frame.
5. Creating a Custom Transom Window Frame
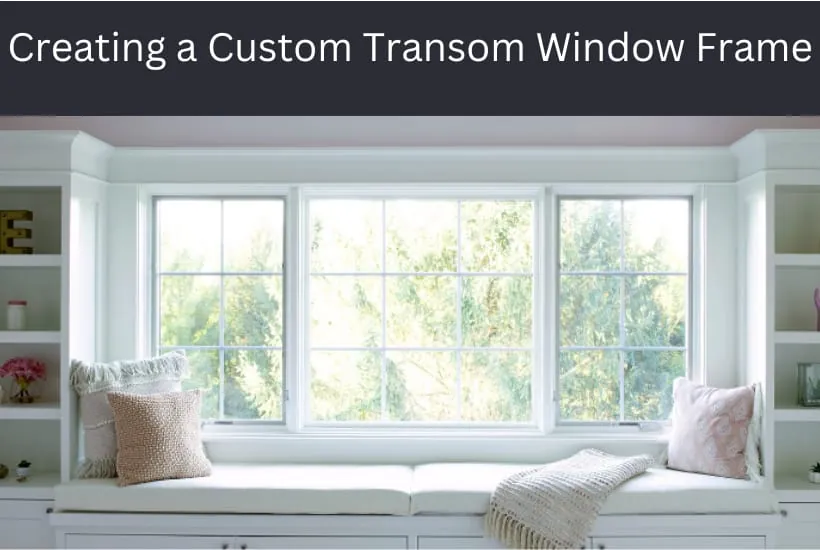
You can custom-make or modify a frame to fit your wall depth if an off-the-shelf transom window doesn’t have the thickness you want. Here’s how:
- Employ a Frame Kit: Transom window frame kits from numerous vendors let you alter the frame depth. The frame should be measured and cut to the thickness of your wall.
- Extend the Frame: You can increase the depth of the frame by adding thin plywood or MDF panels if the current frame is a little too thin. For a finished appearance, make sure to paint or trim the extension.
- Trim Extensions: To ensure a smooth transition, extra trim around the transom window might help fill in any little spaces between the window frame and the wall.
6. Consider Using a Jamb Extension
Jamb extensions are a common way to change the depth of a window. They are particularly helpful in installations where the depth or thickness of the wall is not aligned with windows of normal size.
- Determine the Required Jamb Depth: Measure the depth difference between the wall depth and the transom window frame because jamb extensions come in different widths.
- Set up the Jamb Extension: Secure the jamb extension pieces with screws or nails after fitting them around the frame. To match the existing wall or frame, sand and apply paint or stain as necessary.
- Finish with Casing or Trim: For a neat, polished look, use trim to cover the seam where the jamb extension joins the wall.
7. Installing the Transom Window to Match Wall Thickness
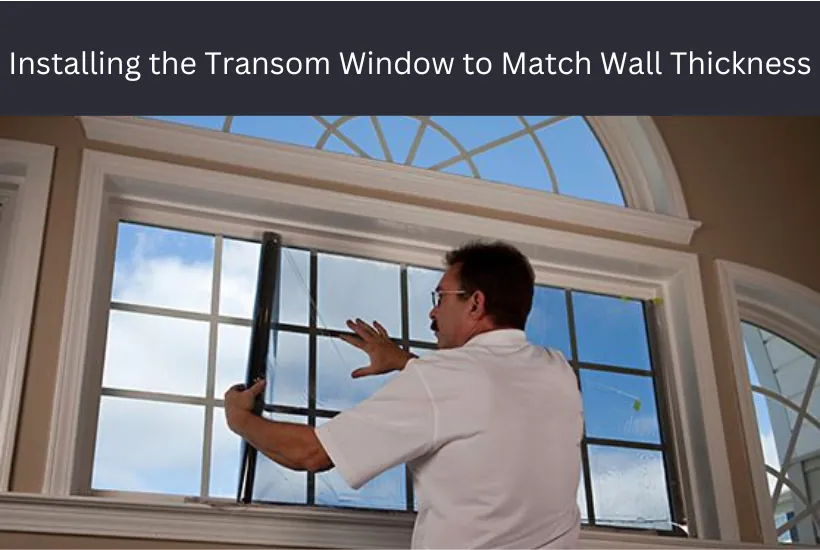
When your transom window is ready, attach it such that the thickness of the wall matches it for a smooth finish.
- Position the Window: Make sure the window is level and in line with the depth of the wall before placing it. If needed, make adjustments with shims.
- Fasten the window frame: Make sure the frame is flush with the wall and any surrounding trim as you attach it to the wall. Depending on the window’s weight and placement, use screws or construction adhesive.
- Apply Sealant and Insulation: To stop moisture and air leaks around the frame of outside transoms, apply a thin layer of caulk or insulation.
- Complete Trim and Casing: To fill in any gaps and give the transom a polished appearance, attach any trim or casing around it last.
8. Matching Thickness Aesthetically
Aesthetic harmony and structural fit are two further reasons to match thickness. Take into account the following design advice:
- Align the depth of the door frame and transom: To create a cohesive design, if the transom window is situated directly above a door, try to match the transom depth to the depth of the door frame.
- Regular Trim Widths: For a unified look, choose trim that is the same width around the transom and the nearby windows or doors.
- Matching Paint or Stain: If you have wood transoms, paint the frame the same shade as the nearby windows and doors. If used consistently, a contrasting color can also be visually striking for a contemporary style.
Final Tips for a Perfect Fit
- Double-Check Measurements: To make sure everything lines up precisely, take two measurements before ordering or installing any materials.
- Speak with Experts: A carpenter or window installer can offer suggestions for custom installs if you’re not sure about the thickness.
- Seek for Adjustable Frame Kits: A lot of manufacturers have frames that can be adjusted to better match wall thicknesses.
Conclusion
A smooth, expert installation is ensured when the thickness of a transom window is matched with the surrounding walls and frames. You may create a polished appearance that seamlessly complements the architectural style of your house by precisely measuring the wall depth, choosing the right materials, and utilizing jamb extensions or bespoke framing techniques. These procedures will assist you in creating a transom window that is both aesthetically pleasing and useful, whether you are installing one inside or outside.


