In many building and home remodeling projects, plasterboard installation is an essential stage. A well-built ceiling may significantly enhance a space’s appearance and feel by offering a smooth, clean surface that is ready for texture or paint. However, because of its overhead placement and the weight of the drywall sheets, hanging drywall on a ceiling can be difficult. Even as a do-it-yourselfer, you may accomplish professional results with the right equipment, a detailed plan, and some useful advice.
From assembling your supplies and setting up your workstation to cutting, mounting, taping, and completing the drywall, this tutorial offers comprehensive, step-by-step directions for hanging drywall on a ceiling.
Why Drywall Is Popular for Ceilings
The basis for many different kinds of ceilings is drywall, an inexpensive, adaptable, and somewhat simple building material. It offers a level, smooth surface that can be wallpapered, textured, or painted to blend in with the interior design of the space. Apart from its aesthetic diversity, drywall provides fire protection, acoustic insulation, and easy replacement in the event of damage. These factors make drywall one of the most often used materials for ceilings in both residential and commercial structures.
Tools and Materials You’ll Need
Installing ceiling drywall successfully and efficiently requires having the appropriate equipment and supplies on hand. The following is a list of requirements:
Drywall sheets:
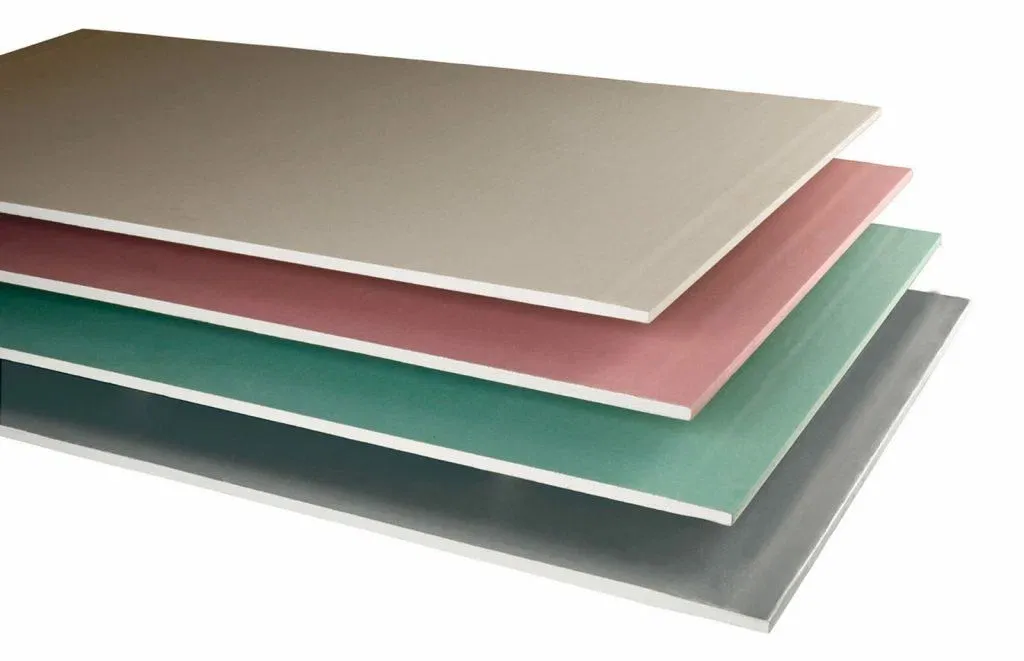
While 4×12-foot sheets might be more suitable for larger spaces to reduce seams, 4×8-foot sheets are typically utilized for ceilings in smaller rooms.
Drywall screws:
Use 1-1/4 inch screws for 1/2-inch drywall or 1-5/8 inch screws for 5/8-inch drywall.
Drill or screw gun:
For fast and accurate installation, a screw gun is the best tool, but a drill bit for drywall will also work.
Drywall lift:
Especially if you’re working alone, this specialized tool makes installation considerably simpler by holding drywall sheets in place.
Utility knife:
For scoring and cutting drywall.
T-square or drywall square:
Ensures precise cuts.
Measuring tape:
For accurately measuring dimensions and placement.
Chalk line:
Helps to mark joist locations on the ceiling.
Ladder or scaffolding:
Allows safe and stable access to the ceiling.
Joint tape and drywall compound:
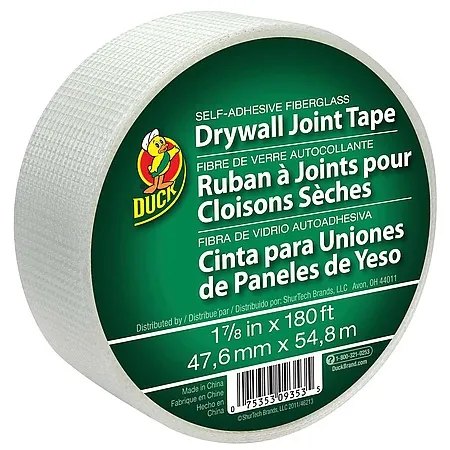
For finishing seams and creating a smooth, uniform surface.
Sanding block or pole sander:
Used for smoothing the compound.
Safety gear:
Wear a dust mask and safety goggles to protect yourself from dust and debris.
Preparing for Installation
The secret to a good drywall installation is preparation. Take the following precautions before moving any drywall sheets:
Clear the workspace:
Verify that the space is clear of obstructions and unoccupied. You’ll have more room to move the drywall sheets and keep your tools close at hand.
Inspect the ceiling joists:
Because the drywall will be supported by the ceiling joists, make sure they are structurally sound. To avoid sagging, use 5/8-inch drywall sheets if the joists are more than 16 inches apart.
Mark Joist Locations:
Mark each joist’s placement across the ceiling with a chalk line. When using screws to secure the drywall, these markings will act as a guide.
Step 1: Measure and Cut the Drywall
Accurate measurements and cuts are essential for reducing gaps and making installation easier.
Measure the ceiling area:
To find the overall area, measure the ceiling’s length and width. Determine the number of drywall sheets you will require based on these measurements.
Mark and Cut Sheets:
To help you direct your cuts, use a T-square. Mark the cutting lines, use a utility knife to score the drywall, and then break the sheet by snapping along the scored line. To completely separate the pieces, cut through the opposite side of the paper backing.
Step 2: Lift and Position the Drywall
Because of the weight and size of the sheets, lifting drywall overhead can be challenging. If at all possible, utilize a drywall lift or get assistance.
Place the sheet on the drywall lift.
Position the first sheet of drywall on the lift, making sure it is balanced and secure.
Lift the sheet to the ceiling.
Align the edges of the drywall sheet with the wall and raise it to the ceiling. The long edge of the sheet should be perpendicular to the ceiling joists.
Fit edges tightly:
Make sure the edges fit tightly against the wall and adjacent sheets to minimize gaps.
Step 3: Secure the Drywall with Screws
Drive in the First Screws:
Start by inserting screws along the joists into the drywall sheet. Every joint line should have screws spaced about 12 inches apart.
Use countersink screws:
Without piercing the paper, drive each screw just below the drywall’s surface. This produces a little indentation that is simpler to fill up with a joint compound.
Continue Along the Joists:
Staple the drywall along each joist, working from one end of the sheet to the other.
Step 4: Cut Openings for Fixtures
You’ll need to make cuts in the drywall sheets to make room for any light fixtures, vents, or other ceiling installations.
Measure and mark openings:
Before moving each fixture to the ceiling, measure its location and mark it on the drywall sheet.
Cut the Openings:
Cut around the designated apertures using a drywall saw or utility knife. To allow for changes, make the cutouts a little bigger than the fixtures.
Step 5: Tape and Apply Joint Compound
Now that the drywall sheets are securely in place, it’s time to tape and finish the seams.
Apply Joint Tape:
Each seam between drywall sheets should have joint tape applied. Over time, this will strengthen the seam and lessen the likelihood of cracks.
First Coat of Joint Compound:
Apply a thin coating of joint compound to the tape with a drywall knife, feathering the edges for a smooth finish.
Additional Coats:
To guarantee a smooth transition between sheets, apply two to three more coats after the first one dries, feathering each one a little wider than the previous one.
Step 6: Sand and Finish the Ceiling
Once the joint compound is completely dry, sand the ceiling to smooth out any imperfections.
Sand the Surface:
Lightly sand the compound with a pole sander or sanding block, paying particular attention to the corners and seams.
Remove Dust:
Dusting the ceiling with a moist cloth will improve the adhesion of primer and paint.
Step 7: Prime and Paint the Ceiling
After sanding, your ceiling is ready for priming and painting.
Apply a coat of primer.
To seal the drywall and create a flat surface for painting, use a high-quality primer.
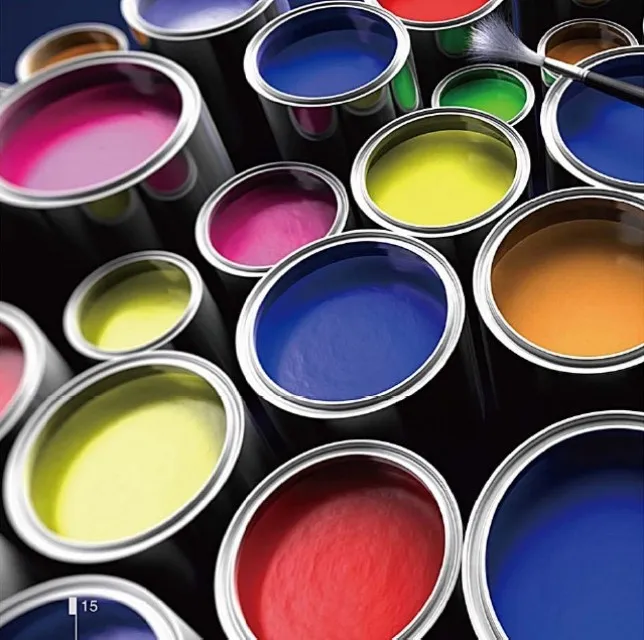
Apply your paint or texture finish after the primer has dried. This completes the process of making a ceiling that looks professional.
Additional Tips for Hanging Drywall on Ceilings
Consider Using Lightweight Drywall:
Lightweight drywall, which is simpler to handle and lessens the strain on ceiling joists, is available from certain manufacturers.
Opt for 5/8-Inch Drywall on Larger Ceilings:
More sound insulation and resistance to drooping are two benefits of thicker drywall.
Double-Check Measurements:
By taking the time to measure precisely, you might avoid the need for subsequent modifications.
Use a Partner or Drywall Lift:
The installation is quicker and safer if you use a drywall lift or work with a companion.
Conclusion
A satisfying do-it-yourself project that will improve the look of your house for years is hanging drywall on the ceiling. You can create a smooth, clean ceiling that is ready for paint or texture with the correct equipment, meticulous preparation, and attention to detail. Installing ceiling drywall is a useful skill that may improve the interior of any home, whether it’s done as a stand-alone project or as part of a bigger makeover.


