Wood is a natural material that responds to changes in its environment. The fibers in solid hardwood absorb and release moisture based on the humidity of the surrounding air. This process causes the wood to expand in high humidity and contract in low humidity. How to Acclimate Solid Hardwood Flooring the Right Way. Adjusting hard One of the most crucial phases in any hardwood flooring job is acclimating solid hardwood flooring. When wood is properly acclimated, it can adapt to the humidity and temperature of your house, lowering the possibility of warping, shrinking, or expanding after installation. We’ll go over the importance of acclimatization, proper technique, and things to avoid for optimal outcomes in this tutorial.
Why Acclimate Hardwood Flooring?
By allowing wood flooring to adapt to the typical humidity and temperature levels in your house, you can lessen the possibility of gaps, cracks, or bowing following installation.
Installing hardwood without the right acclimation might shorten the lifespan of your flooring and result in expensive repairs. Stability and a stunning, long-lasting installation are guaranteed when your hardwood is acclimated.
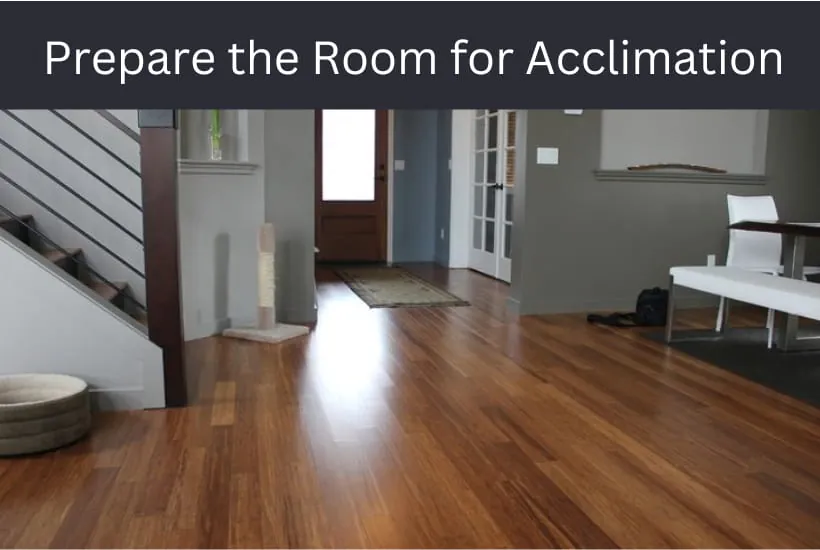
Step 1: Prepare the Room for Acclimation

Control Temperature and Humidity
- Set up the environment: Make sure the room where you’ll install the flooring has a consistent temperature between 60-80°F (15-27°C) and relative humidity levels between 30-50%.
- Turn on heating or cooling systems: If the room is part of an area that doesn’t yet have HVAC (like a new addition or remodel), consider bringing in portable climate controls to keep the room stable.
- Use a dehumidifier if needed. In regions with high humidity, a dehumidifier can help keep the relative humidity level low enough to allow for proper acclimation.
Check Subfloor Conditions
The subfloor’s moisture content is just as critical as the hardwood’s. Check it before bringing in your hardwood flooring to ensure a good foundation for adaptation.
- Measure subfloor moisture: Use a moisture meter to check the moisture content of the subfloor. For a plywood subfloor, the moisture difference between it and the hardwood should be within 2%, while for a concrete subfloor, it should be within 4%.
- Prepare the subfloor: If the subfloor is very humid or dry, correct it before you begin acclimating your hardwood. It should be stable so that the hardwood can adjust to its conditions over time.
Step 2: Inspect and Organize the Hardwood Flooring
Check for Initial Moisture Levels
- Use a moisture meter: Take readings of the moisture content in several planks as soon as you receive the hardwood. This baseline measurement helps you track how much the wood changes during acclimation.
Inspect the Flooring for Quality
Examine the hardwood planks for irregularities or indications of deterioration. Any boards that have flaws or may require more finishing can be marked and put aside at this time.
Step 3: Position and Spread Out the Flooring
Unbox the Hardwood
Remove all packaging:
To expose each plank to the air in the room, remove it from its packaging.
Lay the boards flat.
To allow air to flow around each board, arrange the boards in a single layer or small stacks with gaps between them.
Provide Air Circulation
The wood needs to “breathe” to properly adapt. To guarantee air circulation, there are two primary methods:
Flat arrangement:
Lay out each plank flat on the ground, leaving a tiny gap between them.
Stack with spacers:
Planks should be stacked in small stacks for smaller areas, with spacers made of plastic or wood in between each layer. This method, called “stickering,” encourages adequate circulation between the boards.
Step 4: Measure and Monitor Acclimation Progress
Time Required for Acclimation
Duration
Acclimation typically takes three to seven days, but in humid or harsh environments, it may take up to two weeks.
Daily Measurements:
Use a moisture meter to measure the moisture content of a few boards every day. The boards can be installed once the moisture content has stabilized and is within the recommended range of the subfloor.
Ideal Moisture Difference
Depending on the type of flooring, the hardwood should be installed between two and four percent of the moisture content of the subfloor.
Wood Subfloor:
The hardwood and wood subfloors should differ by no more than 2%.
Concrete Subfloor:
Because concrete tends to hold higher moisture levels, a difference of 4% is permissible.
Step 5: Maintain a Consistent Environment During Acclimation
Avoid Sudden Environmental Changes
Steady temperature and humidity:
In the space where the wood is acclimating, refrain from opening windows or doors too often. The acclimatization process may be impacted by unexpected drafts or swings.
Daily monitoring:
To monitor the conditions, use a temperature and humidity gauge. Try to keep your living situation as close to normal as you can.
Step 6: Final Checks Before Installation
Perform a Final Moisture Check
To make sure the wood is stable and compatible with the conditions of the space, test the moisture level one last time once the acclimatization period is over.
Confirm with a moisture meter:
Calculate the average of the readings from several planks. The wood is prepared for installation if every plank falls within the permissible range of the subfloor.
Inspect the Boards One More Time
Before installing, check each plank for any bowing or warping that might have happened during acclimation. It can save time and work later if any planks with obvious flaws are set away immediately.
Additional Tips for Successful Hardwood Acclimation

Do Not Skip Acclimation:
Ignoring this procedure might lead to expensive repairs later, even if the hardwood appears dry.
Acclimate in the Installation Room:
The wood should be acclimated in the same space where it will be installed. The temperature and humidity levels may differ between rooms.
Avoid Extreme Conditions:
If hardwood is placed in a space that is excessively hot, chilly, dry, or humid, it may suffer. Aim for consistent, mild weather.
Invest in a Quality Moisture Meter:
For installation and adjustment to go smoothly, a trustworthy moisture meter is a necessary instrument.
Common Mistakes to Avoid
Rushing the Process:
Don’t acclimate too quickly. A few more days can have a significant impact on how stable your flooring is.
Not using a moisture meter:
It’s dangerous to guess the moisture content. For precise measurements, use a moisture meter.
Ignoring Room Conditions:
Hardwood flooring may continue to absorb or shed moisture unpredictably if the atmosphere is unstable.
Stacking Boards Too Close Together:
Enough airflow is necessary. Steer clear of vertical plank storage or tight stacking.
Conclusion
Solid hardwood flooring acclimatization is a necessary procedure that calls for patience, time, and close attention to detail. By taking these actions, you reduce the possibility of future warping, cracking, and other problems by allowing your hardwood to achieve a moisture equilibrium with the conditions of your house. You will have a long-lasting, gorgeous floor that will look fantastic and function well for many years to come if you take the time to properly acclimate your hardwood.
You lay the groundwork for a successful hardwood installation by organizing your area, properly unpacking and arranging your hardwood, keeping an eye on moisture levels, and preserving constant environmental conditions. Your investment in solid hardwood will continue to be sturdy, attractive, and long-lasting with proper acclimatization.


