Plywood walls are a great way to add visual flair, warmth, and texture to a space. Plywood walls’ inherent wood grain can complement a variety of designs, including modern and minimalist, as well as rustic and industrial. With the help of this thorough tutorial, you can make a plywood wall with a professional finish that looks fantastic and lasts for a long time.
Why Choose Plywood Walls?
Plywood walls are favored for several reasons:
Affordability:
Plywood is more affordable and comes in a variety of grades than other paneling or wall materials, giving you more options for both price and style.
Durability:
Because of its strength, plywood can withstand knocks, dents, and scratches. It’s the perfect option for places that require a little more resistance and for high-traffic areas.
Versatility:
Plywood walls can be painted, stained, or sealed to match a variety of colors and styles. For a more contemporary, minimalist style, you can even leave it natural.
Ease of Installation:
For many homeowners, placing plywood on walls is a doable do-it-yourself project because it is comparatively simple to deal with.
Materials and Tools Needed

Materials
- Plywood Sheets: Choose your preferred grade and thickness (1/4-inch to 3/4-inch sheets are commonly used).
- Wood screws or nails: For secure attachment, 1 1/4-inch to 1 1/2-inch screws or nails work well.
- Wood glue (optional): Provides extra adhesion, especially useful for uneven surfaces.
- Wood Filler: To fill any gaps, screw holes, or imperfections.
- Sandpaper: 80-grit and 120-grit sandpaper for smoothing rough edges.
- Paint, stain, or clear sealant: optional, depending on your desired finish.
Tools
- Measuring Tape: To measure your wall and plywood sheets accurately.
- Circular Saw or Jigsaw: For precise cutting of the plywood sheets.
- Drill or Hammer: For attaching screws or nails to the wall.
- Stud Finder: Essential for locating wall studs to ensure secure installation.
- Level: To ensure your plywood sheets are installed evenly.
- Sander or Sanding Block: For smoothing out edges and surfaces.
- Paintbrush or Roller: For applying stain, paint, or sealant.
Step 1: Plan and Measure the Wall
Measure the wall:
Measure the height and width of the wall where the plywood will be installed using a measuring tape. This will assist you in determining how many sheets of plywood are required for complete coverage.
Determine Orientation:
Choose whether you would want the plywood sheets to run horizontally or vertically. Vertical sheets provide a sleek, contemporary appearance, while horizontal sheets frequently produce a shiplap-style effect.
Locate the wall studs:
To discover and label the wall studs, use a stud finder. For the plywood to be firmly fastened to the wall, screws are essential.
Step 2: Cut the Plywood Sheets
Measure and mark your plywood sheets:
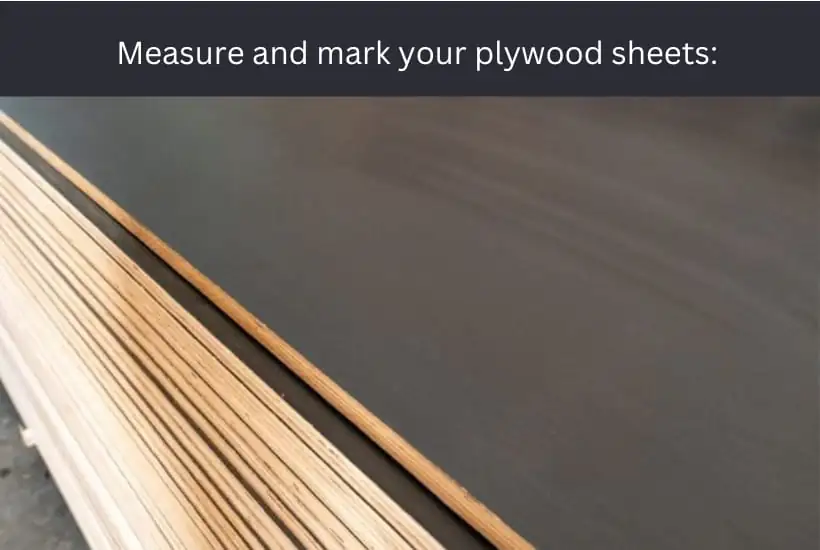
Mark the locations where each plywood sheet has to be cut using the dimensions of your wall. Verify measures twice to be sure they are accurate.
Cut the Sheets:
The plywood sheets should be cut to size using a jigsaw or circular saw. To maintain equal cuts when working with a large sheet, use a solid surface or request assistance.
Sand the Edges:
Sandpaper can be used to smooth off sharp edges after cutting. This will help the finished installation look more professional.
Step 3: Install the Plywood on the Wall
Start in a Corner:
Starting from a corner of the wall, place the first plywood sheet flush with the wall next to it and at floor level.
Secure to Studs:
Use screws or nails to fasten the plywood sheet to the wall studs. For stability, position fasteners around 12 to 16 inches apart along each stud.
Optional Glue Application:
Before putting the plywood sheets on the wall, dab the back of each one with wood glue for extra adherence.
Align Each Sheet:
Leave a tiny space (about 1/16 inch) between each plywood sheet as you continue to join them. Because of this gap, the plywood can expand and contract in response to variations in humidity and temperature.
Check for Level:
To ensure that every sheet is installed straight, use a level. Make any necessary corrections before completely fastening the sheet.
Step 4: Fill Seams and Smooth the Surface
Fill gaps and screw holes:
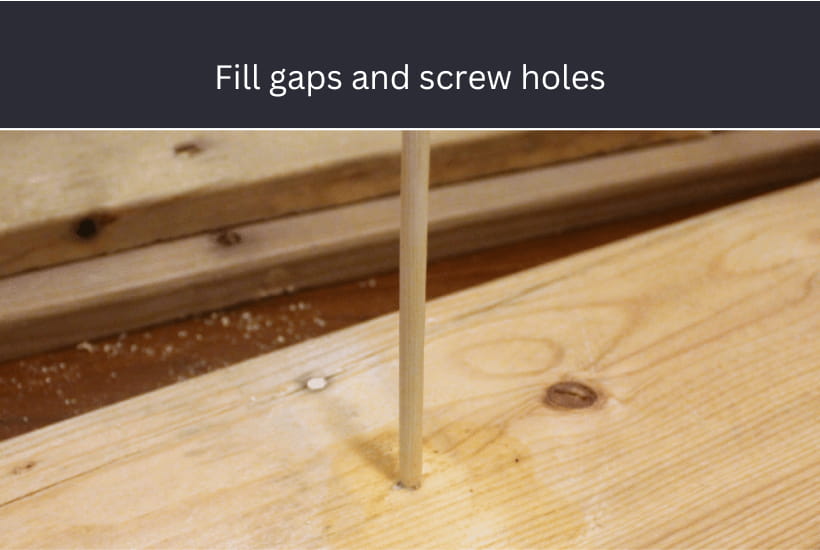
Cover screw or nail holes and any spaces between sheets with wood filler. Before sanding, let the filler completely dry.
Sand the Filled Areas:
After the filler has dried, smooth down the spots with 80-grit and 120-grit sandpaper. A consistent surface for painting, staining, or sealing is ensured by this process.
Clean the Surface:
To clean the wall and get rid of any dust or debris from sanding, use a moist cloth.
Step 5: Apply the Finish
Stain (Optional):
The natural wood grain is enhanced by staining, which gives it a warm, rich appearance.
Application:
Use a brush or cloth to apply the stain in even strokes. Wipe off excess stain with a clean cloth and apply additional coats as needed for a darker tone.
Paint (Optional):
You can paint the wall to fit the color palette of your space.
Application:
Primer should be used first, then two coats of paint for even coverage and a durable finish.
Clear Sealant (Optional)
To preserve the plywood and achieve a natural wood appearance, use a clear sealer.
Application:
Apply polyurethane or similar clear sealer in thin layers, letting each one dry completely before applying the next.
Tips for a Successful Installation
Acclimate the Plywood:
Allow the plywood to acclimate to the humidity in the space for a few days prior to installation. After installation, this lessens the chance of warping and cracking.
Add Trim for a Finished Look:
Trimming the wall’s edges gives it a sleek, businesslike air.
Maintaining Your Plywood Walls
Although plywood walls require little upkeep, the following advice can help you maintain them looking their best:
Dust Frequently:
Use a soft, dry cloth to dust the walls periodically.
Avoid excessive moisture:
Plywood can absorb moisture, so avoid getting it overly wet to prevent warping.
Touch Up as Needed:
If it’s painted, have extra paint available so you can touch it up quickly. Every few years, reapply the stain or sealer to preserve the wood’s beauty.
Conclusion
A simple yet effective technique to give any room personality and texture is to install plywood walls. You can make a beautiful, long-lasting wall that improves the appearance and feel of your space with the correct equipment, a little perseverance, and meticulous attention to detail. Plywood walls are beautiful and adaptable to a variety of decor styles, from modern to rustic. These walls will create a statement and increase the long-term value of your house whether you decide to paint, stain, or leave them unpainted.


